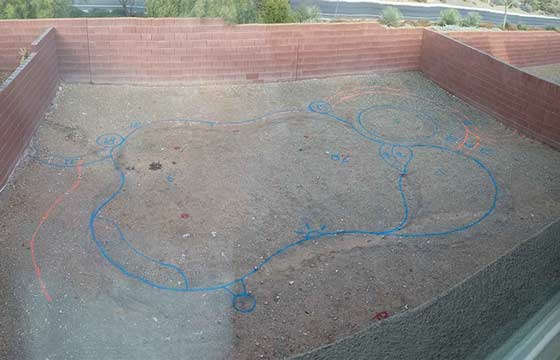
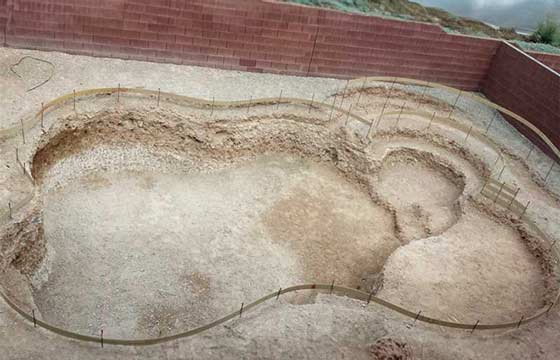
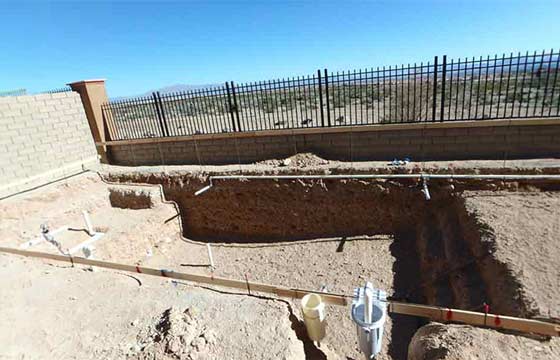
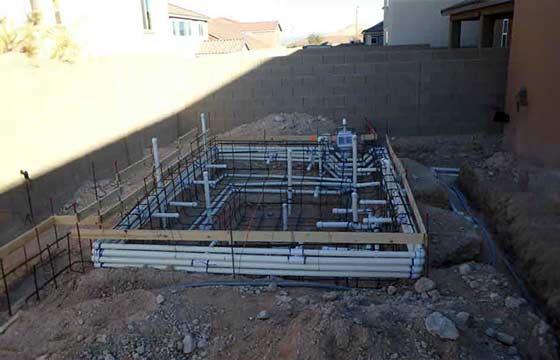
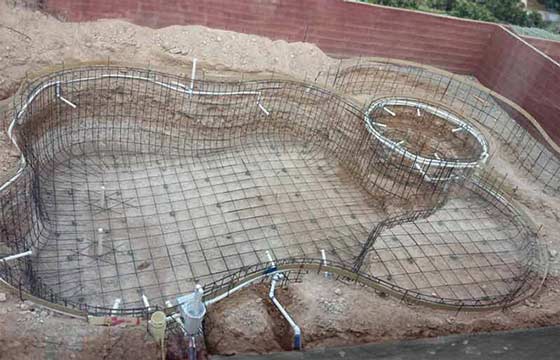
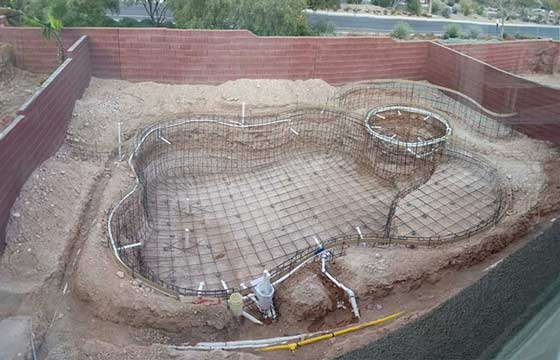
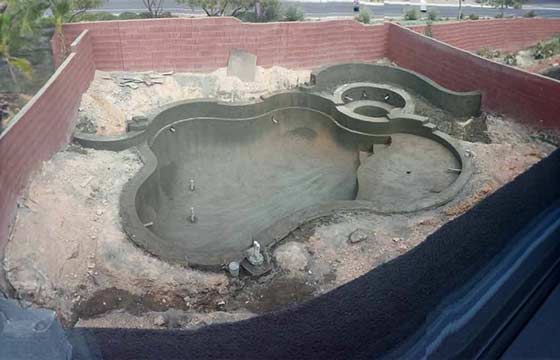
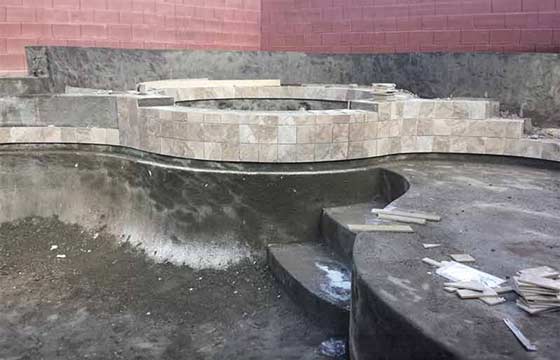
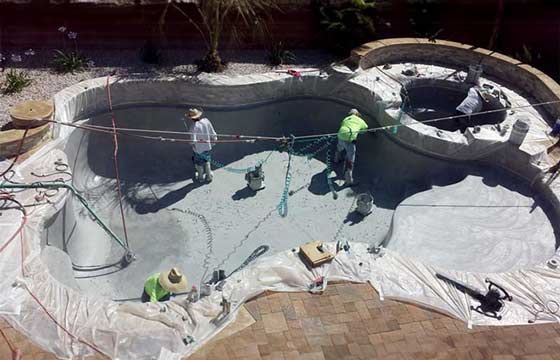
Our Process

Trust Artistic Pool & Spa for the Best Pool Design Las Vegas.

From Dreams To Reality

Artistic Pool & Spa has been creating aquatic playgrounds and relaxing retreats since 1982, so our catalog of design ideas is quite extensive. However, more important than what we have built in the past, is what you want us to build for you to enjoy in the future.

Pool Construction Process Overview

Embark on the journey of pool construction with our detailed guide. Discover the 12 essential steps to bring your dream pool to life.

Step 1 – Excavation

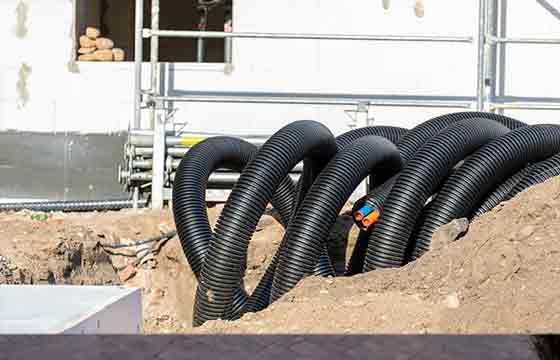
After the initial design phase, it’s time for the work to get started! Our team will start with the layout, giving the excavation team the exact location and measurements for construction. They will begin with the basic digging out of the ground for the depth and length of your pool and establish trenching for the underground utility installation.

process 1

Step 2 – Underground Plumbing

Once excavation is complete, work begins on the plumbing infrastructure. It is during this phase that all of the plumbing pipes are laid in the trenches and placed in and around the pool.

Step 3 – Set major pool equipment

After all of the plumbing is in place, it is time to set the major pool equipment. This is when you will see the pump, filter, heater and skimmer put into place. It is also during this phase of construction that all major valves are set in place and pressurized.

process 4

Step 4 – Steel

After installing all of the major pool equipment, you will start to see your pool taking shape. The steel frame that will give the pool structure will be installed in preparation for the next phase of construction.

Step 5 – Rough Electrical / Underground

Once the steel frame is in place, it is time to focus on the electrical needs of your pool. Electrical conduit will be installed to power the equipment and for the future electrical needs of your pool.

process 12

Step 6 – Gunite/Shotcrete

Once all of the electrical conduit is in place, concrete will be sprayed over the previously installed steel frame. It is this process that builds the actual walls, steps, benches, and other structural elements of your pool.

process 7

Step 7 – Tile

Shortly before we are ready to begin the tile installation phase of the build, we will send you a letter notifying you that it’s time to pick out tile or stone. Once we receive your selection, the tile and stone will be delivered to your home and installed.

process 8

Step 8 – Finish Electric

Shortly after the tile is complete, it is time to finish up the electrical work. Pool and spa lights, the remote system, pool panel and all other final electrical equipment will be installed.

process 13

Step 9 – Decking

We install traditional sprayed concrete deck as the standard or other popular options such as concrete
pavers, travertine or porcelain pavers. Each type requires grading of the space. Then either concrete is
poured and sprayed or the optional material is laid piece by piece.

Some materials such as porcelain tile pavers require a concrete pad to be poured prior to setting the porcelain tiles. This phase may take several days up to a few weeks depending on the material.

process 9

Step 10 – Gates

There are numerous building codes in place that homeowners must adhere to when it comes to pool safety. Once the deck is complete, the next step is to install the gates and fencing around your pool to ensure that your home is up to code.

process 14

Step 11 – Plaster

The next step in the construction process is to install the interior finish of your pool. Plaster is a single
day process. Pebble finishes take two days to install and prep for water to be filled in the pool. The pool
will be filled with water shortly after the plaster or pebble finish is in place.

process 10

Step 12 – Start Up

Once your pool has passed been filled with water, we will start up all of the equipment to assure that
everything is in proper working order. Final inspections will be called.

Lastly, we will go through your system with you step by step so that you have a basic knowledge of how the equipment works. It’s time to enjoy your backyard oasis!

process 11

Site Assessment and Planning

To achieve the goal of building your backyard dream, we start with an initial site appointment. This involves spending time in your home and yard, measuring dimensions, assessing environmental challenges, and identifying sight lines. Our goal is to understand your vision while minimizing clutter and noise.

If needed, our sales designer can guide you in obtaining financing through pool financing specialists.

lyon financial logo
HFS logo
Viking Capital Logo
Paramount pool logo
Site Assessment and Planning
CAD-Design-Pool

Visualizing Your Dream: 3D CAD Drawings

Following the site visit, your sales designer crafts 3D CAD drawings to bring your vision to life. These detailed renderings offer a preview of your new pool and backyard space. You’ll have the opportunity to review, make alterations, and provide suggestions before finalizing the plans.

Finalizing Design and Pricing

Once the design and pricing are solidified, we present you with a contract to sign. A deposit is required to proceed with obtaining engineering and permits. We establish a payment schedule based on the completion of each construction phase leading up to the final inspection.

Finalizing Design and Pricing

Permitting and Construction Phases

Artistic Pool & Spa takes care of securing all necessary permits before commencing the project. Once permitted, we meticulously schedule and supervise each construction phase. Each step is personally reviewed by our management staff and your sales designer. For a standard project, expect completion in approximately 60-90 business days from excavation through start-up. More intricate designs with custom features may extend the timeline to several months.

Start Your Pool Journey